SlicersSoftware Chris Wyatt 4 June 2024
Discover the essentials of 3D printing software with “Prusa”, your go-to guide for navigating the world of digital design. You’ll learn the key differences between modeler, CAD, and slicer software, each playing a unique role in bringing your creations to life. Whether you’re sculpting detailed models, engineering precise parts, or slicing designs for printing, understanding these tools will elevate your 3D printing experience. Dive in to turn your creative visions into tangible masterpieces with ease and efficiency. Ever wondered how to get started with 3D printing? If you’ve ever wanted to bring your digital designs into the physical world, then you’re probably aware of a little company named Prusa. But how do you navigate the vast sea of software involved in 3D printing? What exactly do you need, and what are the differences between a modeler, CAD software, and a slicer? Don’t worry, we’re here to explain it all in a friendly, approachable way.
Understanding Prusa: The Basics
What is Prusa?
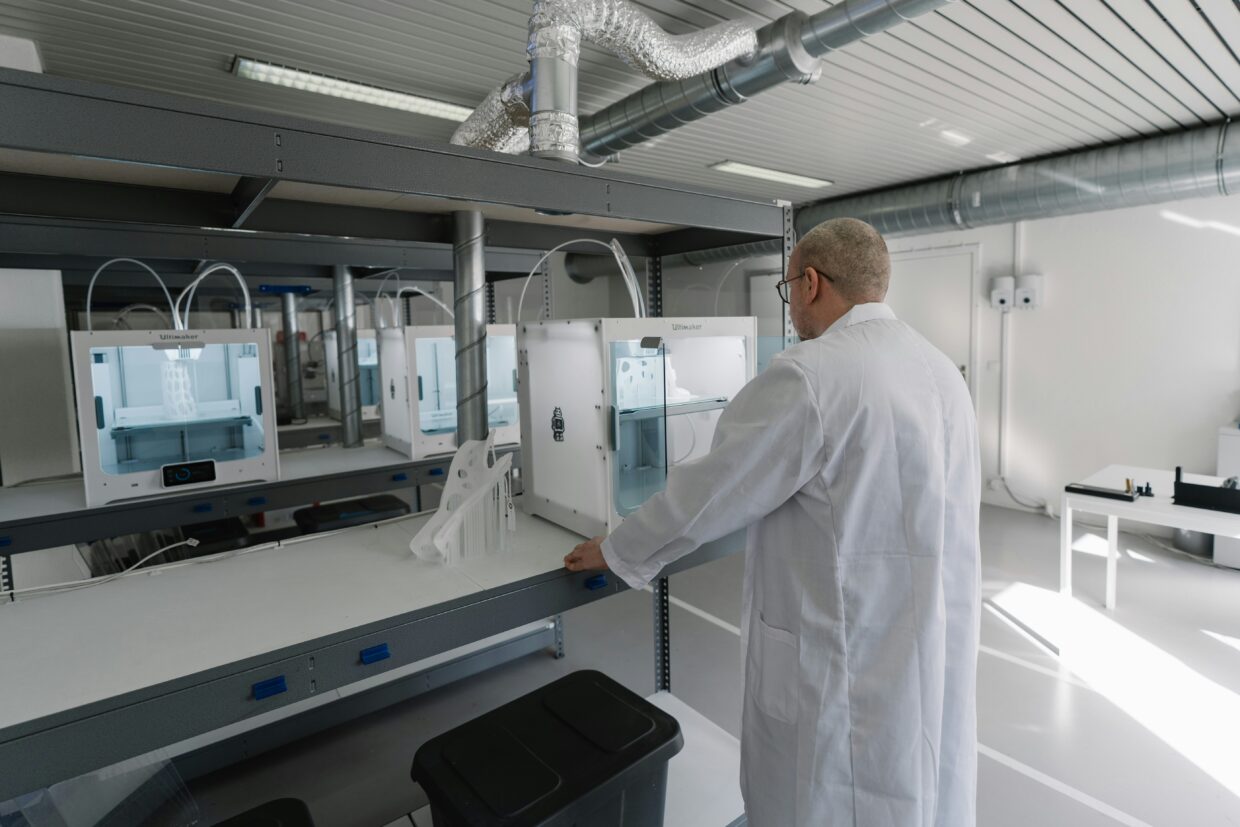
Prusa is a well-known name in the 3D printing world. Founded by Josef Prusa, the company has built a reputation for quality, reliability, and innovation. Prusa’s 3D printers are widely used by hobbyists, professionals, and educational institutions alike, thanks to their user-friendly features and consistent performance.
Why Choose Prusa?
You might be asking, “Why should I choose Prusa over other brands?” Good question! Prusa printers offer several advantages. They are not only reliable and easy to use but also come with excellent customer support and an active community. Whether you’re a beginner or an experienced user, Prusa has something to offer.
The Software Landscape of 3D Printing
Types of Software Needed
To successfully bring your 3D models to life, you will need three main types of software:
- Modeling Software: This is where you create your 3D objects.
- CAD Software: Used primarily for engineering and precision-based models.
- Slicer Software: This software converts your 3D model into a language understandable by your 3D printer.
Let’s break these down further to understand their roles and how they work in harmony to create a printed object.
Modeling Software: The Creative Playground
Modeling software is the first step in your 3D printing journey. This is where your creativity takes shape. Popular modeling software includes Blender, TinkerCAD, and ZBrush, to name a few.
| Modeling Software | Best For | Skill Level |
|---|---|---|
| Blender | Sculpting, Animation, Game Models | Intermediate |
| TinkerCAD | Simple Designs, Education | Beginner |
| ZBrush | Detailed Scultping, Texturing | Advanced |
Each of these tools offers a unique set of features aimed at different aspects of modeling.
Blender
Blender is highly versatile and ideal for more detailed models. While it may have a steeper learning curve, the possibilities are endless once you get the hang of it. You can create anything from simple objects to highly detailed and textured masterpieces.
TinkerCAD
TinkerCAD is very user-friendly and perfect for beginners. It’s web-based, so no hefty downloads required, and it comes with a variety of tutorials to get you up and running. It’s especially popular in educational settings due to its simplicity.
ZBrush
ZBrush is your go-to if you’re into detailed sculpting. This software is used by professionals in the gaming and movie industries due to its exceptional ability to create lifelike characters and textures.
CAD Software: Precision Engineering
If you require your designs to meet specific measurements and tolerances, CAD (Computer-Aided Design) software is indispensable. Popular CAD software includes AutoCAD, SolidWorks, and Fusion 360.
| CAD Software | Best For | Skill Level |
|---|---|---|
| AutoCAD | Architecture, Engineering | Intermediate |
| SolidWorks | Mechanical Design, Engineering | Advanced |
| Fusion 360 | 3D CAD, CAM, CAE | Intermediate |
CAD software is essential for professionals needing more control over their projects.
AutoCAD
AutoCAD is widely used in architecture and engineering. It provides robust tools for creating precise 2D and 3D designs. However, it requires a good grasp of its detailed functionalities.
SolidWorks
SolidWorks is excellent for mechanical design and engineering. It offers powerful capabilities for modeling complex geometries and simulating their performance under real-world conditions.
Fusion 360
Fusion 360 by Autodesk combines CAD, CAM, and CAE tools in one package. It’s ideal for product development as it allows not only for precise modeling but also for running simulations and generating toolpaths for manufacturing.
Slicer Software: The Middleman
Once your model is ready, you’ll need to translate it into instructions your 3D printer can understand. This is where slicer software comes in. Popular slicers include PrusaSlicer, Cura, and Simplify3D.
| Slicer Software | Best For | Skill Level |
|---|---|---|
| PrusaSlicer | Prusa Printers, Advanced Settings | Intermediate |
| Cura | Universal, Good for Beginners to Advanced Users | Beginner |
| Simplify3D | Professional Use, Customization | Advanced |
Slicer software is responsible for converting your 3D model into G-code, a set of instructions your 3D printer can follow.
PrusaSlicer
PrusaSlicer is tailored for Prusa printers but can work with others as well. It offers a variety of advanced settings, giving you granular control over your print process.
Cura
Cura, developed by Ultimaker, is an excellent slicer for both beginners and advanced users. Its versatility makes it a favorite among many 3D printing enthusiasts.
Simplify3D
Simplify3D is considered a professional-grade slicer, offering extensive customization options. It comes at a premium cost but is worth it if you need highly optimized prints.
Getting Started with Prusa and Slicer Software
Setup and Calibration
Before diving into slicing, it’s crucial to set up and calibrate your Prusa printer correctly. Follow the manufacturer’s guidelines closely. Simple steps like loading filament and bed leveling go a long way in ensuring high-quality prints.
Using PrusaSlicer
Let’s focus on using PrusaSlicer for your Prusa printer.
- Import your Model: Open PrusaSlicer and import your 3D model file (usually in .STL or .OBJ format).
- Orientation and Scaling: Adjust the orientation and scale of your model to fit within the printer’s build volume.
- Settings: Configure your print settings. PrusaSlicer comes pre-configured with profiles optimized for Prusa printers. You can tweak layer height, infill density, print speed, and many other parameters.
- Generate G-code: Once satisfied with your settings, click on “Slice Now”. The software will convert your model into G-code.
- Print: Save the G-code to an SD card, insert it into your Prusa printer, and start printing!
Tips and Tricks for Successful Printing
Material Selection
Prusa printers are compatible with various materials including PLA, PETG, and ABS. Choose the material that best suits your project needs.
| Material | Best Uses | Pros | Cons |
|---|---|---|---|
| PLA | General Use, Prototyping, Educational Models | Easy to print, Biodegradable | Less durable, Not heat-resistant |
| PETG | Functional Parts, Durable Items | Strong, Flexible, Waterproof | Slightly harder to print |
| ABS | Durable Items, Functional Prototypes | Strong, Heat-resistant | Emits fumes, Warping |
Printing Conditions
- Layer Height: Standard layer height is 0.2mm, but you can go finer (0.1mm) or coarser (0.3mm) depending on the level of detail you need.
- Infill Density: For strong prints, a higher infill density is beneficial, but it will take longer and use more material. Lower infill can suffice for aesthetic models.
Troubleshooting Common Issues
Warping
Warping mainly occurs with materials like ABS. Use a heated bed and proper adhesion techniques to minimize this issue.
Stringing
Stringing happens when small strings of filament are left between printed parts. Adjusting your retraction settings in the slicer can help reduce this.
Layer Shifts
Layer shifts can mess up an otherwise perfect print. Ensure that your printer’s belts are tightened and that the printer is placed on a sturdy surface to avoid vibrations.
Advanced Techniques
Multi-Material Printing
Prusa offers the MMU2S (Multi-Material Upgrade 2S), which allows you to print with up to five different materials or colors. This opens up incredible possibilities for complex designs and functional prototypes.
Custom Supports
Most slicer software automatically generates supports for overhangs. However, manually adding or fine-tuning supports can sometimes yield better results. PrusaSlicer excels in this area, offering you the flexibility to customize your supports as needed.
Post-Processing
For the perfect finish, sometimes post-processing is necessary. Sanding, painting, or even chemical smoothing (for ABS prints) can make a world of difference.
Joining the Prusa Community
One of the best aspects of owning a Prusa printer is the active community. From forums to social media groups, you will find plenty of resources and people willing to help you out and share their experiences.
Online Resources
Prusa provides extensive documentation and tutorials on their website. Websites like Thingiverse and MyMiniFactory offer thousands of free 3D models you can start printing immediately.
Community Events
Look out for community events, both online and offline. Prusa often hosts webinars, and you can also find local 3D printing meetups and maker fairs where enthusiasts share knowledge and showcase their creations.
Conclusion: The Prusa Difference
In the world of 3D printing, Prusa stands out for its quality, reliability, and the incredible support of its active community. From understanding the different types of software involved to getting your first print right, this guide aims to set you on the path to success. With the right setup and a bit of patience, you’ll be churning out impressive 3D printed objects in no time.
So, what are you waiting for? Dive into the world of 3D printing with Prusa, and start transforming your digital dreams into physical reality!
About Ultimate 3D
Learn everything there is to know about 3D Printers and the different components and printing materials.
Site Links
Copyright 2024 Ultimate 3D


Be the first to leave a comment