
Cura, a Renowned Piece Software in the Realm of 3D printing

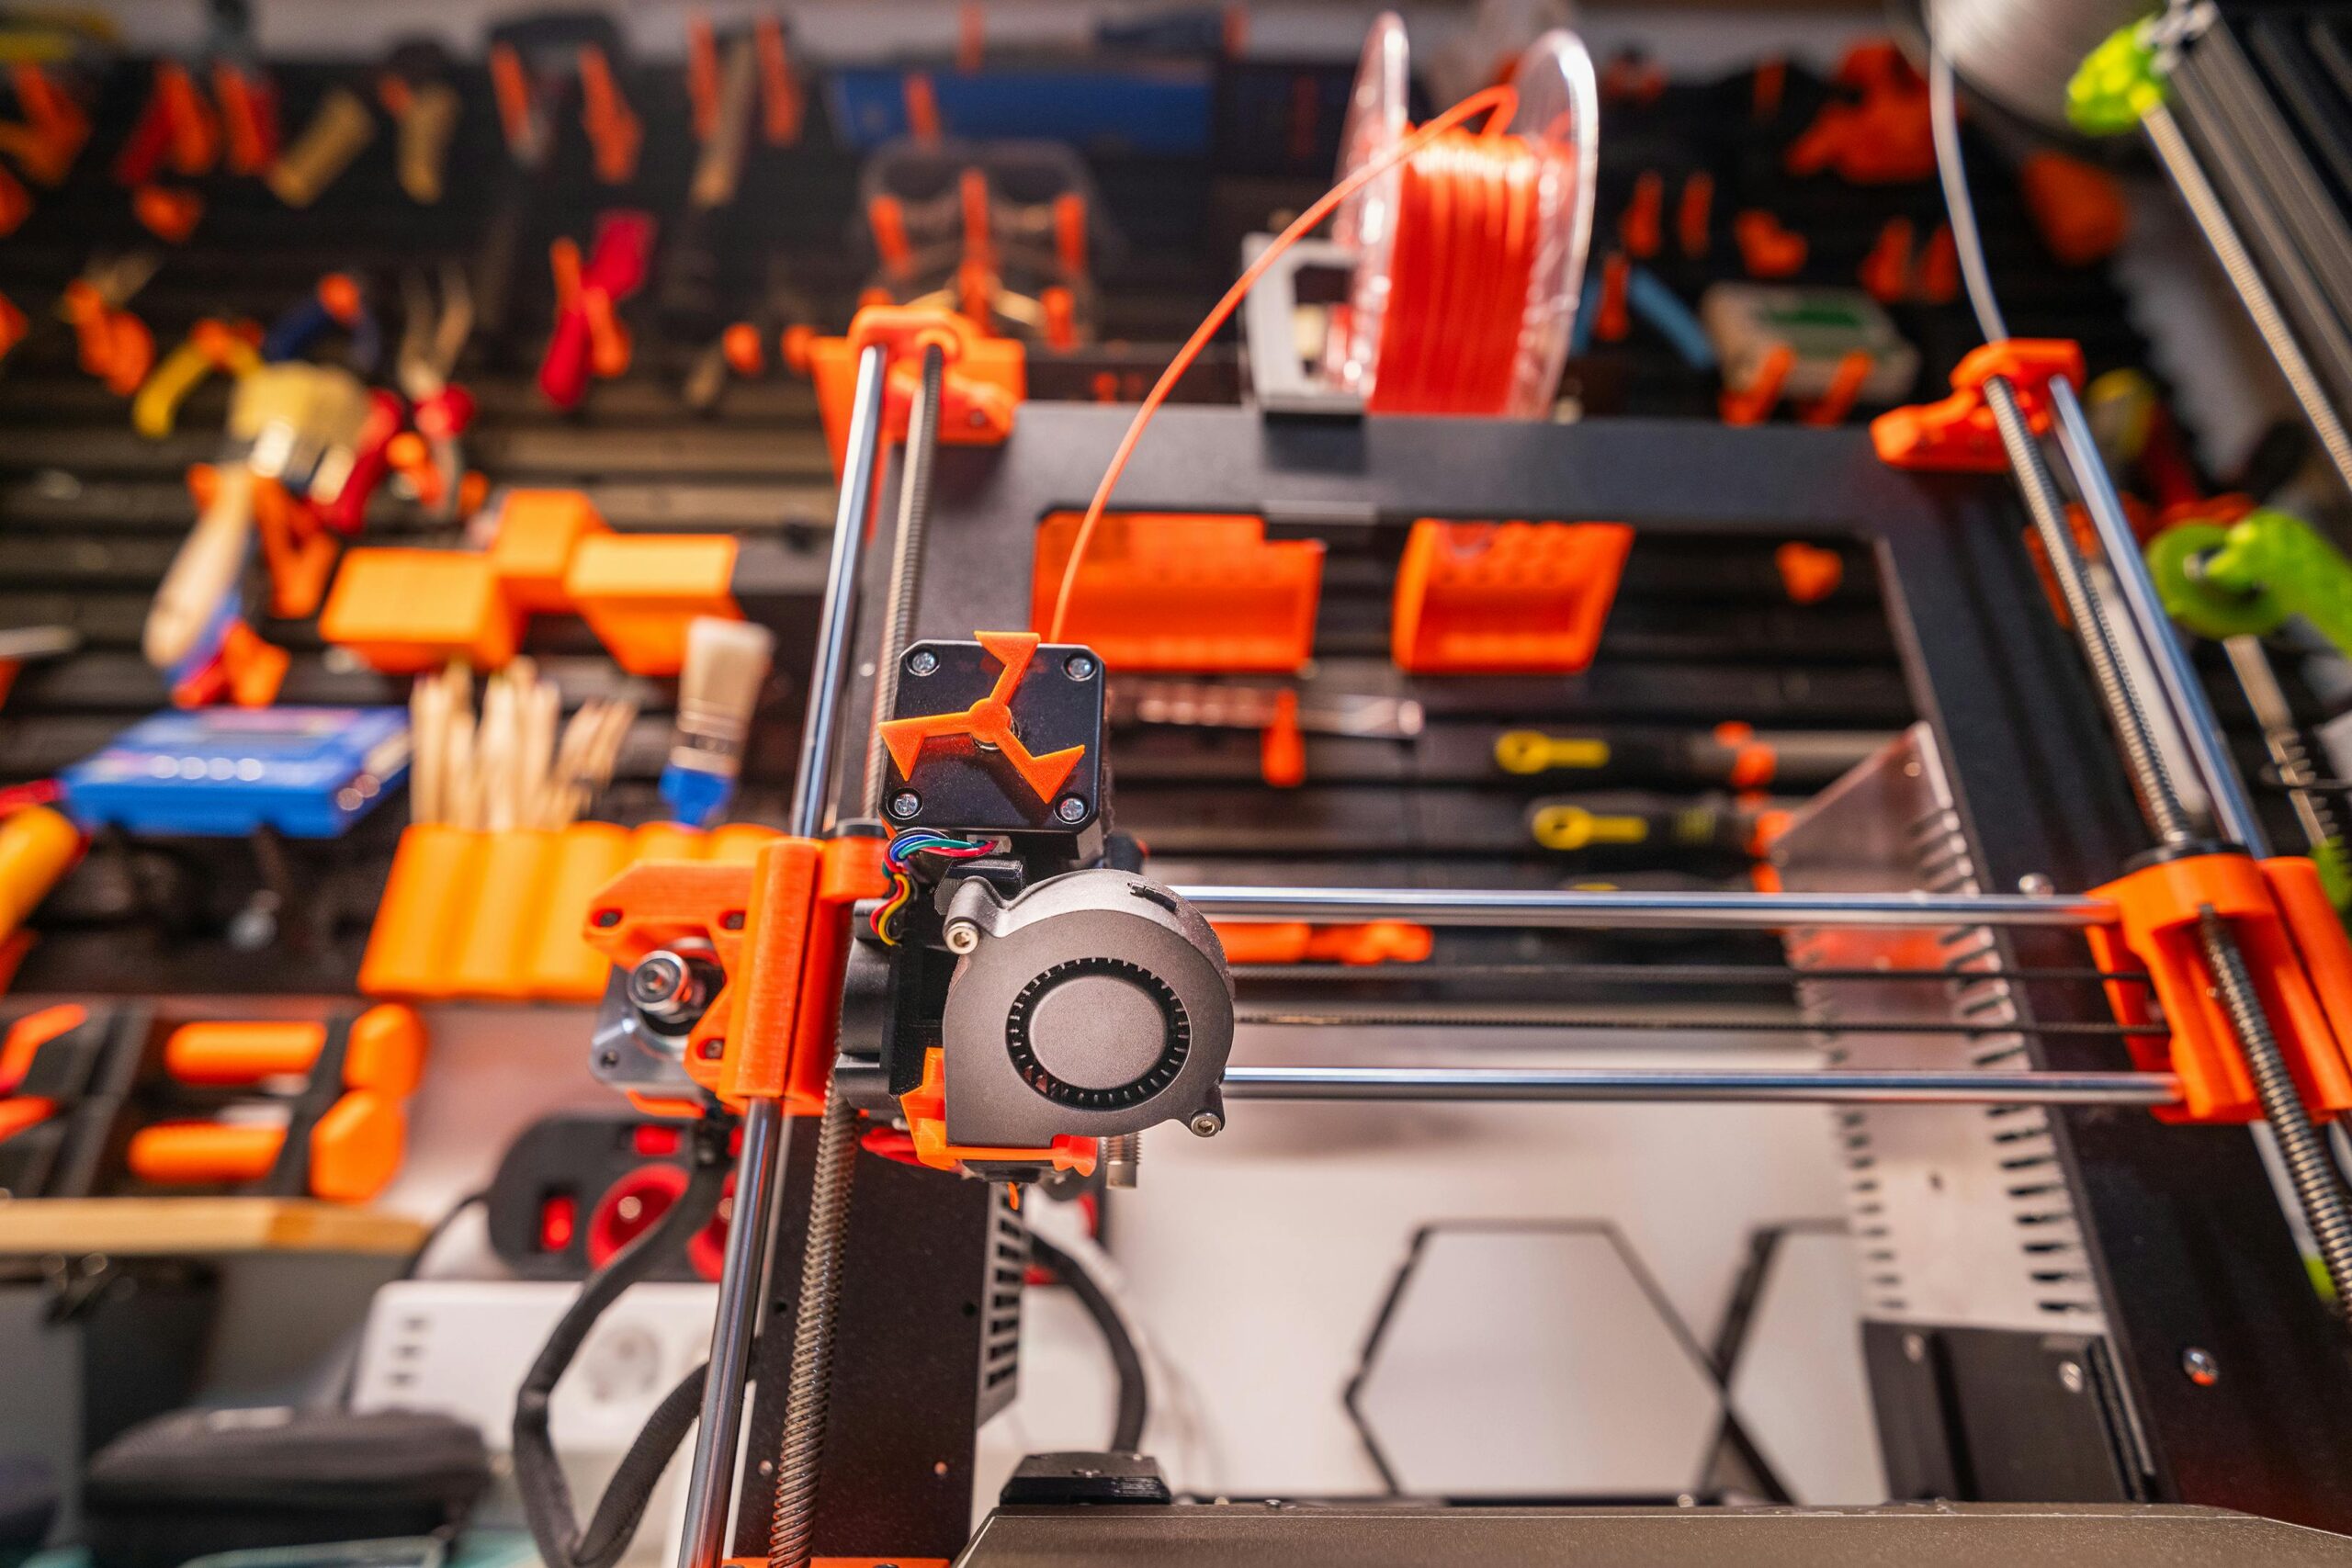
Cura, a renowned software in the realm of 3D printing, plays a pivotal role in transforming digital designs into tangible objects. As I delved into the world of 3D printing, it became apparent that understanding the various types of software involved is crucial. Modeler software allows for the creation of complex designs, CAD software provides the precision required for engineering projects, and slicer software like Cura translates these models into instructions that a 3D printer can follow. By utilizing Cura, I can efficiently convert my digital creations into reality, bridging the gap between imagination and physical form with ease. Have you ever wondered about the fascinating process that brings a digital 3D model to life through 3D printing? If so, you’re in the right place! Let’s dive into the world of 3D printing software, focusing particularly on a powerful tool called Cura.

Introduction to 3D Printing Software
What Do You Need for 3D Printing?
To get started with 3D printing, you need a few essential software tools that work in harmony to transform your concept into a tangible object. These tools generally fall into three categories:
- Modeler Software
- CAD (Computer-Aided Design) Software
- Slicer Software
Each of these tools plays a unique and crucial role in the 3D printing workflow. Let’s explore these categories more closely.
Understanding Modeler, CAD, and Slicer Software
Modeler Software: Sketching Your Ideas
Modeler software is where you sketch, sculpt, and design the initial model. These tools are more artistically inclined and allow for creative freedom and sculpting capabilities. Think of modeler software as your digital clay. Some popular modeler software includes:
| Modeler Software | Description |
|---|---|
| Blender | Open-source 3D modeling software great for artistic work. |
| ZBrush | Specialized for sculpting detailed textures and models. |
Modelers are akin to a sculptor’s studio, where the artist molds their masterpiece, giving preliminary shape and form to their vision.
CAD Software: Engineering Precision
CAD software is all about precision and functional design. Engineers and architects often use CAD tools to create highly detailed and dimensionally accurate models. Here is a glimpse into some widely-used CAD software:
| CAD Software | Description |
|---|---|
| AutoCAD | Industry-leading software for precision drafting. |
| SolidWorks | Used for designing complex parts and assemblies. |
CAD tools are like an architect’s drafting board, where every millimeter matters, and precision is critical.
Slicer Software: Preparing for Print
Once you have your model, the next step is to prepare it for printing. This is where slicer software comes into play. Slicer software converts your 3D model into instructions that a 3D printer can understand. Essentially, it slices your model into thin horizontal layers and generates a file known as G-code, which instructs the printer on how to build these layers. Examples of slicer software include:
| Slicer Software | Description |
|---|---|
| Cura | Open-source slicer with extensive features. |
| PrusaSlicer | Tailored for Prusa 3D printers but versatile overall. |
Slicer software is the intermediary between your digital creation and the physical object. It’s a bit like translating a document into another language, where each individual slice is a step in the translation process.


All About Cura
What is Cura?
Cura is an open-source slicer software developed primarily for Ultimaker 3D printers, but it’s versatile enough to work with a wide array of other 3D printers. It’s renowned for its ease of use, features, and active community support.
Why Use Cura?
Cura stands out for several reasons:
- User-Friendly Interface: Cura’s interface is intuitive, making it accessible to beginners while still offering advanced options for seasoned professionals.
- Extensive Features: From basic slicing to advanced settings like custom supports and variable layer heights, Cura covers it all.
- Wide Compatibility: Although made for Ultimaker, Cura supports many different 3D printer models through its extensible machine profiles.
- Community and Updates: Being open-source, Cura benefits from a vibrant community that contributes regular updates and plugins.
Getting Started with Cura
Using Cura involves several steps, from installation to generating your first slice. Let’s break these down.
Installation
Installing Cura is straightforward. You can download it from the Ultimaker website here. Just follow the on-screen instructions for your operating system (Windows, macOS, or Linux).
Setting Up Your 3D Printer
Upon launching Cura for the first time, you’ll be prompted to add your 3D printer. Here’s how to set it up:
- Select Manufacturer: Choose the brand of your 3D printer. If your printer’s brand isn’t listed, you can select ‘Add a non-networked printer.’
- Custom Machine Profiles: If your printer is custom-built or not listed, you can manually input the necessary parameters such as build volume, nozzle size, and heated bed options.
This setup ensures Cura knows the specifics about your printer, allowing it to generate accurate G-code.
Using Cura: A Walkthrough
Importing and Preparing Your Model
Once your printer is set up, you can import your 3D model file (commonly in STL, OBJ, or 3MF formats). Here’s how to do it:
- Importing the Model: Click the ‘Open File’ button and select your model file.
- Positioning and Scaling: Use the tools to reposition, scale, and rotate your model if necessary. Make sure it fits within your printer’s build volume.
Basic Slicing Settings
Before slicing, you need to configure basic print settings. These generally include:
- Layer Height: Determines the resolution of your print. Finer layers yield higher detail at the cost of longer print times.
- Infill Density: Adjusts the amount of material used inside your print. Higher infill results in stronger but heavier and slower prints.
- Print Speed: Affects how fast the printer will move. Faster prints are quicker but can reduce quality.
Advanced Slicing Settings
For those looking to delve deeper, Cura offers advanced settings:
- Supports: Add supports to overhanging areas to prevent sagging during printing.
- Brim/Skirt/Raft: These options help with bed adhesion by adding extra material around or beneath your model.
- Temperature Settings: Configure the nozzle and bed temperatures to suit different materials like PLA, ABS, or PETG.
Preview and Slicing
After configuring your settings, the next step is to slice your model. Cura allows you to preview each layer and check for any potential issues before printing.
- Slice: Click the ‘Slice’ button to generate the G-code.
- Preview: Use the preview mode to visually inspect each layer and make sure the slicing went as planned.
Exporting to Your 3D Printer
Once satisfied, you can export the G-code file to your printer:
- Save to File: Save the G-code to an SD card or USB stick if your printer uses these storage methods.
- Send to Printer: If your printer supports direct connection, you can send the file directly via USB or network.


Optimizing Your Prints with Cura
Calibration and Tuning
To get the best results, calibrate your printer regularly and fine-tune your Cura settings. Here’s what to focus on:
- Bed Leveling: Ensure your print bed is level to avoid issues like warping or poor adhesion.
- Temperature Calibration: Use a temperature tower test print to determine the ideal printing temperature for your material.
- Flow Rate: Adjust the flow rate to optimize the amount of material extruded.
Common Issues and Troubleshooting
Successful 3D printing often requires addressing various challenges. Here are common issues and their solutions:
| Issue | Solution |
|---|---|
| Warping | Ensure proper bed leveling and use adhesion aids like a brim or raft. |
| Stringing | Adjust retraction settings to minimize oozing during non-print moves. |
| Layer Shifting | Check belts and motor couplings for tightness and proper alignment. |
Conclusion
Cura is an invaluable tool in the 3D printing process, bridging the gap between your digital model and the physical object. From initial setup to advanced slicing settings, Cura offers a comprehensive solution that caters to both beginners and experts. By understanding its features and optimizing your workflow, you can achieve stunning, high-quality prints every time.
So, ready to bring your digital ideas to life? Fire up Cura, and let the 3D printing adventure begin!

Please disable Adblock to continue reading
Please disable Adblock to continue reading


Be the first to leave a comment